Tuesday, October 16, 2012

Recipe #59 - Candied Nuts

The day that I made these, I was headed to the dentist to get a broken tooth fixed.  So I hurried and made them in the morning, knowing that I might not get to try them later that day.  Brilliant, right?  Eating candied nuts with a cracked tooth?  Luckily, I didn't make it worse.  Not my most intelligent moment.

You can find this recipe on page 254 or online here.

In a skillet, you combined brown sugar, corn syrup and butter.  (I tripled this recipe, by the way.)


Stir until it comes together and starts to bubble. 


Then add the nuts and stir to coat.


Be so careful as you stir this up.  The caramel is crazy hot.  I had a little piece of the caramel sitting on the top of the pan and bumped it with my knuckle.


 I got an instant blister on my knuckle and hit hurt like nobody's business!  Avoid that caramel!  (Guess it could have been worse.  I could have reached in for a taste and burnt a whole lot more finger!)

You continue to cook these on the stove for another 5-7 minutes, stirring continually.  Then pour them out onto foil, parchment paper, or waxed paper to cool.


Once they have cooled completely, you break them apart and enjoy!


These tended to be more of an adult favorite at the party I took them to, but I think that nuts typically are.  But here's the HUGE thing...my two girls don't like nuts -- at all!  When I told them that these were candied nuts, they wanted to try them.  This was shocking for me.  Shocking!  But here's the kicker, they liked them and asked for more.  Who would have thought that a little caramel coating would have such magical powers? 

Monday, October 15, 2012

Recipe #58 - Sugar Cookies

Confession...I was not very excited to try this recipe.  I have a sugar cookie recipe that I just love.  My sister gave it to me many moons ago, and its the only one I ever use.  It makes big, fat, puffy sugar cookies that I adore.  The fact that the picture in the cookbook shows a flat (although pretty) sugar cookie turned me off to the recipe.  I like the flat crispy ones just fine, but my heart (and fat pants) like the soft fluffy ones more.

What I didn't know is that this recipe states that it will make both kinds.  What?!  That's fantastic.  I could totally make puffy ones if I wanted to, and I did!

You can find this recipe on page 208 of the cookbook or online here.

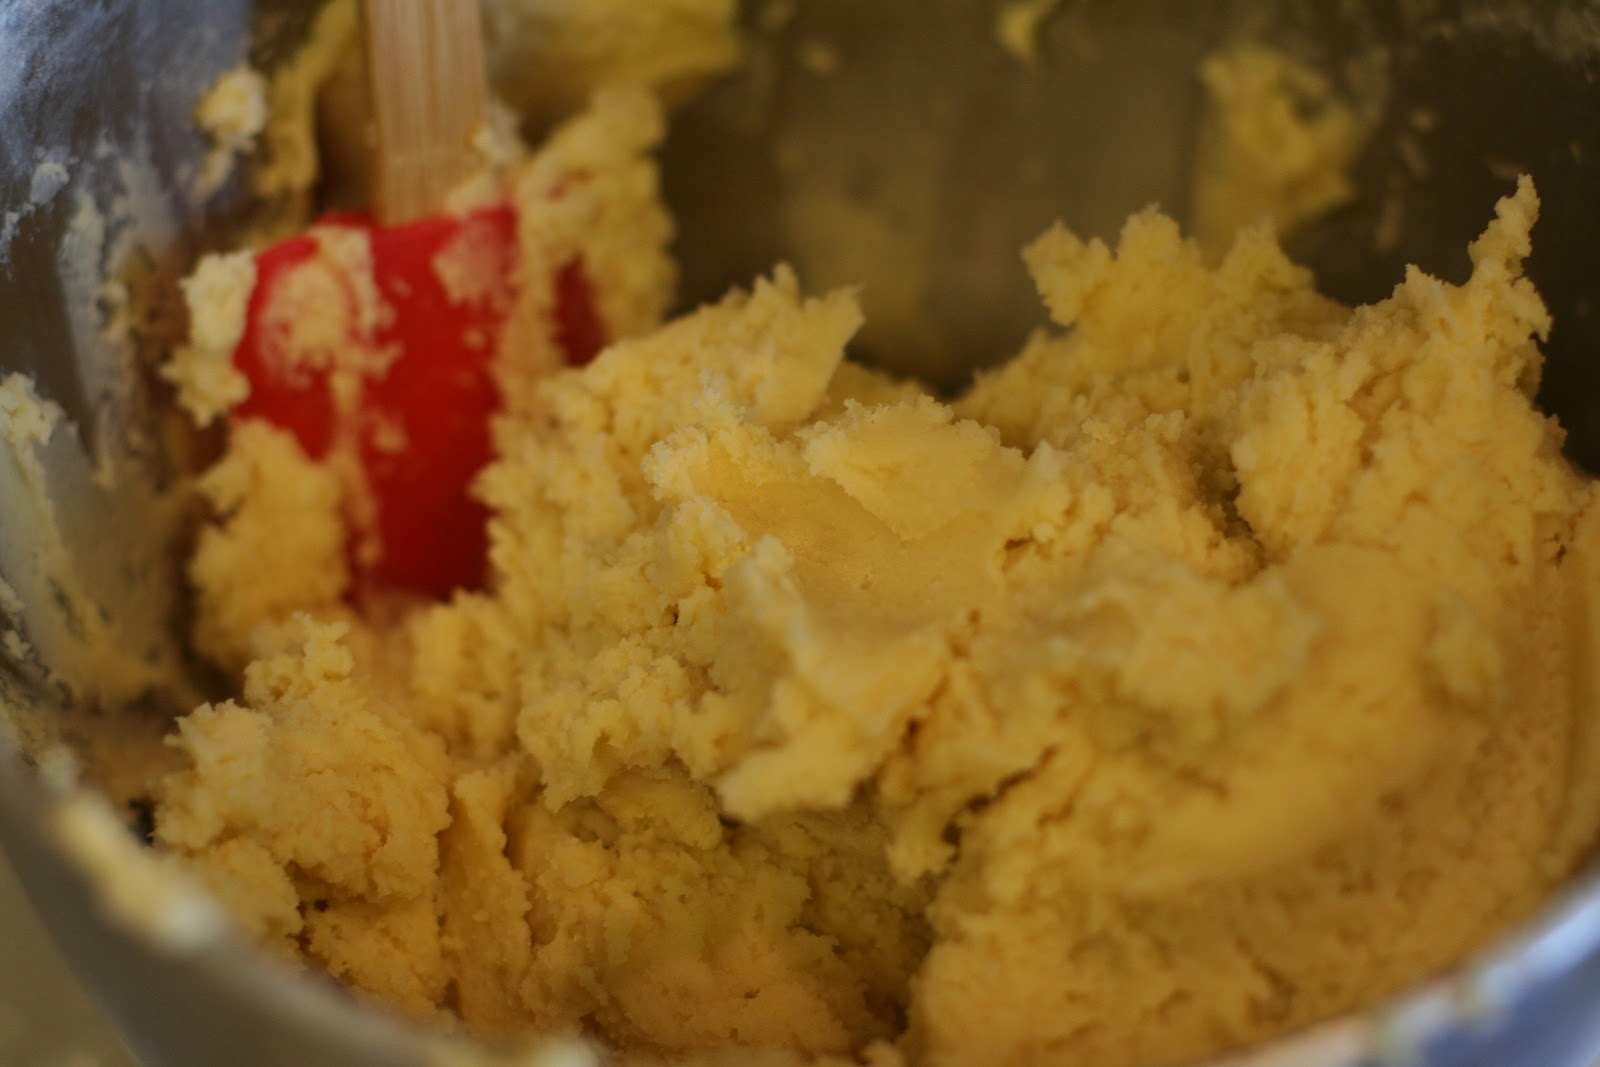
Start by creaming your sugar and butter.


Then add your egg and extract.  You can use either vanilla or almond extract.  I used almond and I think it made all the difference in these cookies.  But if you're worried about allergies, you have the option to use the vanilla too.


Next you add in your dry ingredients.


Now here comes the coolest part!!  I don't know if you guys have seen this done before, but I thought it was freakin' brilliant!  Instead of letting the entire bowl of bowl chill for an hour or so, they have you roll the dough out between 2 pieces of parchment paper first. 


Why is this brilliant?

1.  It makes it so the dough only has to chill for 30 minutes in the fridge.
2.  You don't have to scrub flour/dough off your counter after doing the cookies.
3.  The dough doesn't ever stick to your rolling pin.

Has anyone ever tried this before?!  I'll never do it the other way again.  This was just too easy.

When the dough comes out of the fridge, you just peel back the top sheet and start cutting out your shapes.


I was taking these cookies to a friend's house to watch the BYU vs. Utah State football game.  She's a HUGE Utah State fan, so I thought my BYU cookies were a perfect dessert to share.  I'm thoughtful that way.

Then you're ready to bake.  These cookies do puff up a little, so you need to give them some room on the cookie sheet to do that (not as much as I did though).


They were ready in 9 minutes.


And it wasn't until right now, while I'm blogging this, that I realized that I never took a picture of the final, frosted cookie.  Oops.  I was in a hurry to get to my friend's house and must have forgotten.

Well, even the Aggie fans gobbled these up.  They may or may not have broke them up into several pieces first though.  One particulary loyal teenager, crushed her cookie up in a bowl (symbollic of crushing the cougars...which they did not do after all) and ate the cookie with a fork.  Guess it all goes down the same, right? 

Will I switch my recipe?  Hmm, the jury is still out on that one.  My recipe does puff up a little more, but it also requires me to have sour cream on hand.  So I typically have to plan ahead when I make my recipe, but I would have all these ingredients regularly.  I guess time will tell, but they are tasty enough to make them again, for sure! 

Sunday, October 14, 2012

Recipe #57 - Stuffed Pizza Rolls

If you want to win the award for being the Mom of the Year, you need to make Stuffed Pizza Rolls.  My kids gobbled these babies up and begged me to make them again.  My twelve-year old has requested them for his birthday meal...in June!  What a hit!

You can find this recipe on page 164 of the cookbook or online here.

You start by rolling out your pizza dough.  I used the Pillsbury refrigerated dough, and it is already the exact size called for in this recipe.  No rolling required.


Next you use a pizza wheel to cut your dough into 24 equal sized squares.


Now you get to be creative and add whatever toppings your family will like.  It can be as basic as pepperoni and cheese or you can make it a full on supreme or meat lovers pizza.  I opted for Canadian bacon and crispy bacon -- my kids' favorite!


Then you top each square with about a tablespoon of cheese.


Next comes the time consuming part.  You have to turn each of these squares into a ball by wrapping the dough around the toppings and pinching the dough together to seal everything in.  Here is a picture of what the pinched part looks like.


Once that is done, you put them pinched-side down into a greased pie pan.  You do the same for all the squares and fill your pie pan up.


Now you brush the tops of the dough with either melted butter or olive oil.  (I used olive oil.)  And you top it with garlic, Italian seasoning, and Parmesan cheese.


They bake in the oven for 15-20 minutes or until golden brown.  Mine took the full 20 minutes.


Serve them with warmed pizza sauce, marinara sauce, or alfredo sauce.


Like I said, my family loved these.  I am excited to try them again with different fillings and I would also like to try the variation listed on the side of the recipe.  So many options! 

Saturday, October 13, 2012

Recipe #56 - Pizza Sauce

I don't know about you guys, but whenever I need pizza sauce, I buy a bottle of pizza sauce.  It truly never occurred to me to make it myself, and I'm pretty sure that I will never buy it again.  This recipe is just too easy, and its much cheaper to buy a can of tomato paste than the pizza sauce.

You can find this recipe on page 155 or online here.

You start by emptying a can of tomato paste into a bowl and slowly stirring in a (tomato paste) can of water.  You're just thinning out the paste.


Then you stir in the rest of the ingredients.


That's it!!  No cooking; its ready in a flash.  And it tastes better than the bottled stuff too!  Can't beat that.  So save your pesos and make your own sauce.

We used it as dipping sauce for our Stuffed Pizza Rolls (review coming tomorrow).


Friday, October 12, 2012

Recipe #55 - Smoky Bean Soup with Ham and Bacon

Growing up, my very favorite soup was Campbell's Bean and Bacon.  My mom didn't buy it very often but I always got excited when I saw it in the pantry.  In fact, when I went to college I bought it all winter long -- a quick and easy meal for a poor student.  When I got married, I made it once or twice for my husband, only to find out that he didn't really like it.  I don't know that I've bought it more than once or twice in the last 14 years because of that.

When I got this cookbook, I saw that recipe, drooled a little bit, and figured that I probably would never make it.  I didn't think my family would like it.  Well, this blog project got started and guess who made Bean and Bacon soup?!  Me.

You can find this recipe on page 101 or online here.

You start by cutting your bacon into bite-sized pieces and cooking it in a stockpot.  (You make the soup in the same pot, so plan accordingly.)


Get the bacon nice and crispy.  Then drain on paper towels.


Using a little bit of the bacon grease, you saute the onions and garlic.


Then you stir in the ham, beans, paprika, and salt.


Add the chicken broth and potatoes.  Bring the soup to a boil and let it simmer 10-15 minutes or until the potatoes are tender.


Next you take 3 cups of the soup and put it into the blender.  Make sure that you don't put the lid on tight.  The steam needs to be able to escape.


You pour this back into the soup and give it a good stir.  This helps to thicken the soup up a little bit.

You can add a little salt and pepper to taste, and dinner is served!


Did my family like it, you ask?  Well, they were split on this one.  I loved it even more than the Campbell's version.  My husband totally shocked me when he said that he loved it.  My son gobbled up his entire bowl without a single complaint.  (Today's miracle!)

Then...there were my girls.  They weren't fans.  But there was one thing that they did love about the soup -- making faces in the pot.


She reminds me a little bit of Pascal from Tangled...


This went one for quite some time.  Glad they enjoyed something about the soup.