I get so tired of hearing, "uuhhhh, what's in that?" when I cook. If my kids know that there is onion in anything, they gross out, but if they never see me actually put the onion in and I cut it small enough that they can't tell what it is, its amazing that the taste of an onion never causes any problems. They'll eat it up without hesitation. It is just when they know the actual ingredients that we have issues.
When I sat down to make these taquitos, my eight year old quickly asked, "Uuhhh, what's in that?" The following conversation followed that hated question:
Me: Chicken, cheese, and tortillas.
Her: Is that it?
Me: Oh, and a few seasonings.
Her: Like what?
Me: Like things that you eat all the time and like just fine.
Her: Are there any onions?
Me: Like white onions that you don't like?
Her: Yeah.
Me: Nope, no white onions.
Her: Good, cuz I wasn't going to eat it if it has onions in it.
What she didn't realize is that her mom is sneaky. This recipe has delicious green onions. (Insert evil mommy laugh here.) These are the ingredients my children don't need to know about.
Today's recipe, Baked Creamy Chicken Taquitos, can be found in the cookbook on page 108 or online
here.
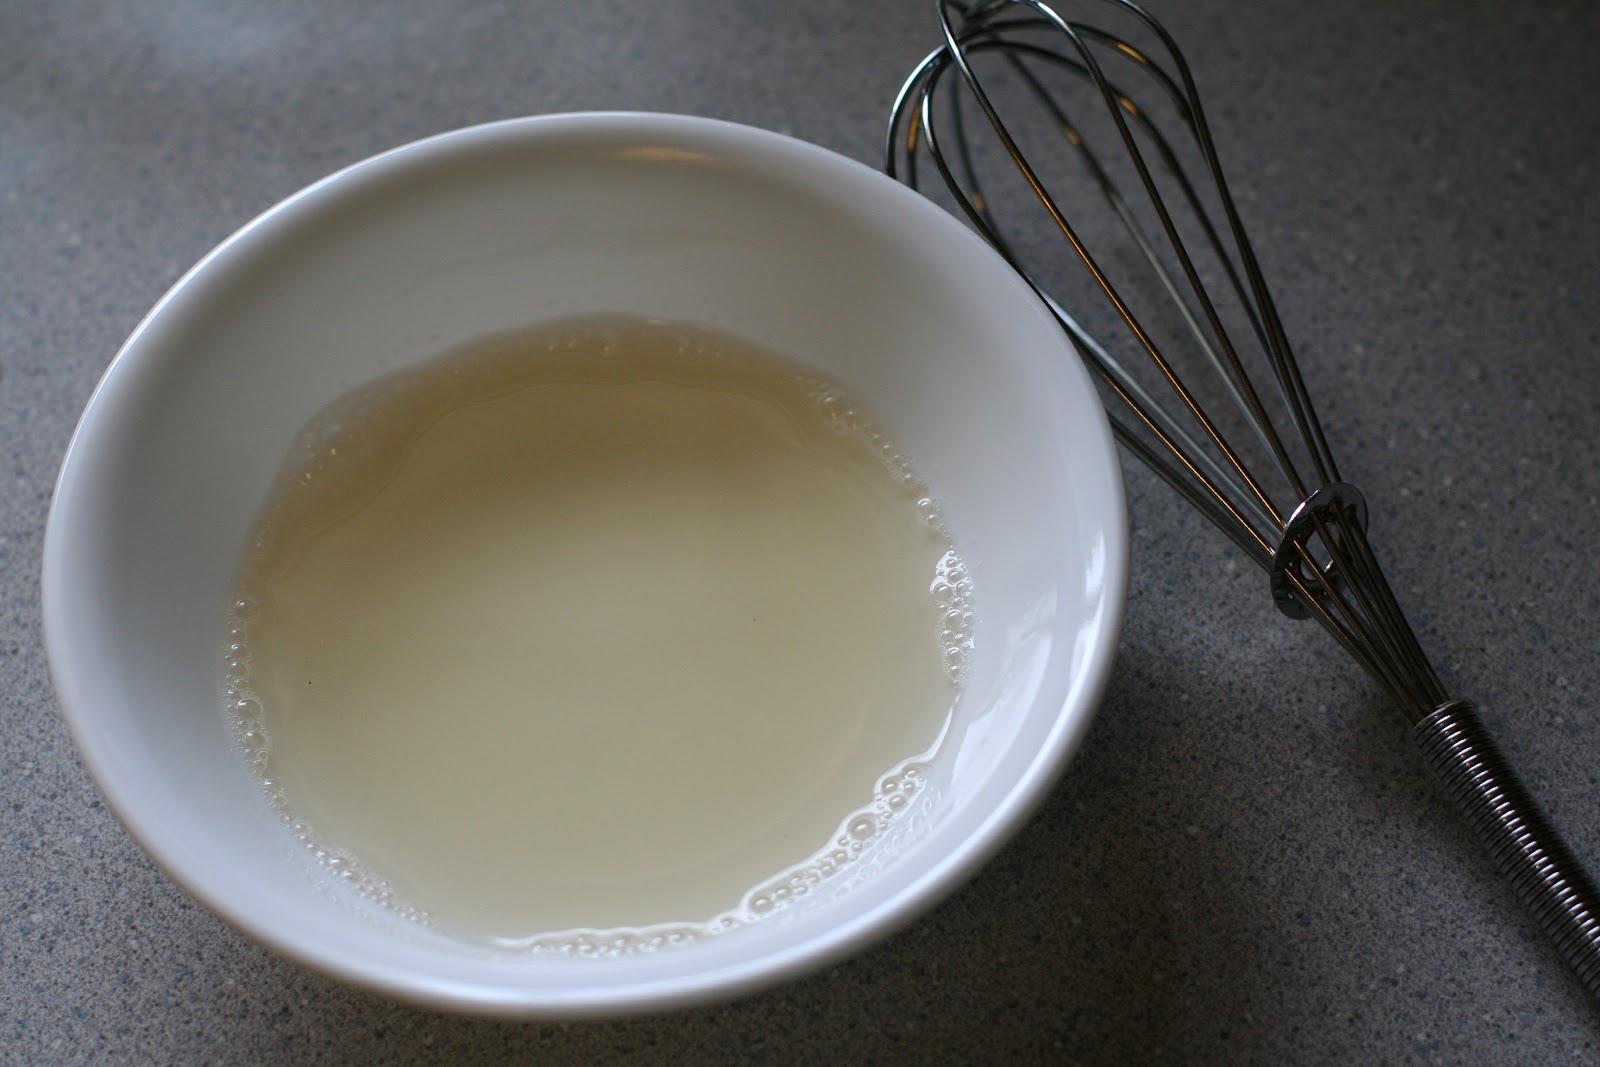
First you combine your creamy base ingredients.
Stir until well mixed.
Then you add your chicken, cilantro, onions, and cheese.
Next comes the tricky part -- adding the filling and rolling the tortilla.
Rolling a tortilla isn't hard, but rolling it fast enough that it stays warm and doesn't split proved to be a little harder than I anticipated.
The recipe says to buy fresh tortillas to help with the splitting issue. So i picked mine up at the store on the morning that I made them. I started by warming up 3 at a time, filling and rolling them. I found that the third tortilla split open every single time. So I worked faster. Still didn't help. Then I did 2 tortillas at a time and worked quickly. That seemed to do the trick. It wasn't fool proof, but the tortillas did keep their shape okay.
With a few exceptions. (I did end up re-rolling these in a new tortilla, by the way.)
Once everything is filled, you brush the tops with vegetable oil and sprinkle with salt.
It bakes for about 15-20 minutes and crisps up beautifully without having to add the fat and calories of frying.
My kids and husband gobbled these up...onions and all. They loved them and I had to sneak a couple off the table so that I could save some for lunch the next day. Another hit!!!