I'm super disappointed to tell you that "Sara Kate and Me" now has a new look. The template that I was using before was pulled offline by the website that used to provide it. I even did a little Facebook stalking, found the owner, and asked if there was anyway to get the images from her. She didn't respond. :( I loved that template!
So after much digging I found a new one, but I don't like it as much. Oh well. Its free. When I'm rich and famous and people are begging me to review their cookbooks, I will have a site designed for me. LOL A girl can dream, right?
Thursday, October 4, 2012
Recipe #47 - Caramel Toffee Fruit Dip
Fall is in the air here in Utah. This is my favorite time of year. The cooler weather, the changing leaves, pumpkin cookies, pumpkin donuts, pumpkin smoothies, pumpkin bread, candy pumpkins...and crisp apples. So it just seemed very fitting to make this recipe this time of a year.
You can find this recipe on page 8 or online here.
It is crazy easy! You mix together the cream cheese, brown sugar, and vanilla.

You could sprinkle some toffee bits over the top and be done at this point. Or there is also a variation of this recipe where you add some cinnamon and nutmeg to it. Both sounded good to me, so I divided the dip in half, and we tried them both.
When you do the variation, you just mix in a pinch of nutmeg and a teaspoon of cinnamon. (I used 1/2 teaspoon since I was only using half of the dip.)

Two different dips ready for taste-tasting!

But don't forget to add some yummy crunchy toffee bits to the top!

We cut up a bunch of apples and went to town on these! Both dips were loved by the whole family, but my kids preferred the basic recipe while my husband and I preferred the variation.

Wanna get all fancy and Pinterest-worthy? Check out the Our Best Bites blog post here and see how to do this dip Halloween-style. So cute! No time for this fanciness at our house right now though!
Wednesday, October 3, 2012
Recipe #46 - Dinner Rolls
Homemade rolls are always so much better than store-bought rolls. Always. But I never make them as much as I (or my husband) would like. Why? Because I don't plan my dinners well enough to make them often. You have to be available for a couple hours, even though the actual time needed to make them isn't that long. Typically, I'm not around long enough to pull them off.
However, we recently had a different church schedule on Sunday and I was home long enough to make rolls. My family was so excited! I even had the needed ingredients. Amazing!!
You'll find this recipe on page 34 of the cookbook or online here.
You start by combining the milk, sugar, butter, and salt in a sauce pan.


Once the butter is melted in your mixture on the stove, take it off the heat.

This needs to cool until it is lukewarm. I followed a tip in the book that says to rub the pan with ice cubes. "Oh slave labor, I mean, son...I need your help..." He was actually willing to do it too. It was really weird. I was all prepared with the Little Red Hen story and to tell him that if he was going to eat the rolls, he would have to help make them. But instead, I asked and he said he would. Pretty sure it wasn't really my son.

Once the mixture is cooled down, you should have "puffy" yeast.

In a large bowl, combine three cups flour and the milk mixture.

Then you add the yeast mixture and beat for 3 minutes. Next add the eggs. Finally you add just as much flour as you need to get the dough to a super soft feel, where it still sticks to your fingers but is pulling away from the bowl.

Cover and rise for an hour.

After an hour, it looked like this:

Now punch that dough down. Literally.

The dough is divided into two blobs.

Then you pat the first blob into a rectangle.

Next use a pizza cutter to divide it into 12 even-ish pieces.

Yes, I'm fully aware that this picture only has 10 pieces. I had already formed two rolls when I realized I needed to take a picture.
Roll the pieces into balls and put them into a 9x13 pan. (Makes 24 large rolls)

It needs to rise again for about another 30 minutes.

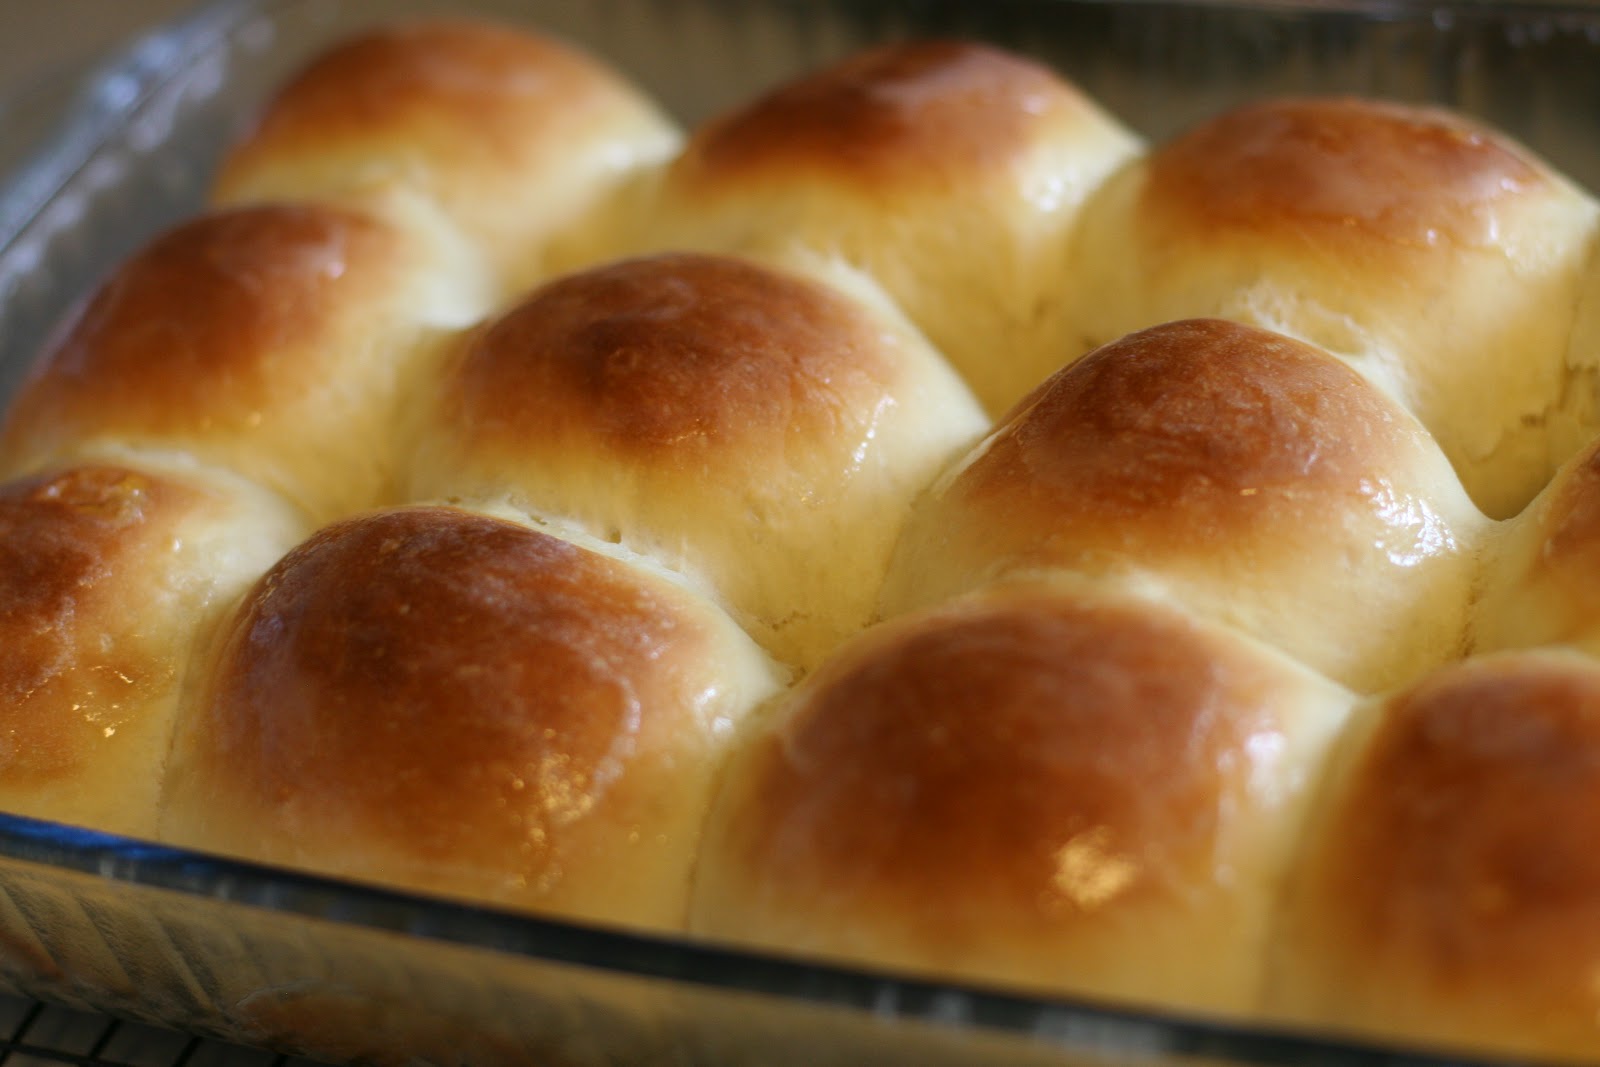
After the second rise, they are ready to put into the oven for 15-18 minutes. They will be golden brown when they come out. Rub the tops with a stick of butter.

These are an awesome addition to so many meals. If you've got the time and the ingredients, make them. We even lathered honey butter (review found here) on them. Ooooo! So good.

However, we recently had a different church schedule on Sunday and I was home long enough to make rolls. My family was so excited! I even had the needed ingredients. Amazing!!
You'll find this recipe on page 34 of the cookbook or online here.
You start by combining the milk, sugar, butter, and salt in a sauce pan.

While it is heating up, mix the yeast, sugar and warm water. Set it aside.

Once the butter is melted in your mixture on the stove, take it off the heat.

This needs to cool until it is lukewarm. I followed a tip in the book that says to rub the pan with ice cubes. "Oh slave labor, I mean, son...I need your help..." He was actually willing to do it too. It was really weird. I was all prepared with the Little Red Hen story and to tell him that if he was going to eat the rolls, he would have to help make them. But instead, I asked and he said he would. Pretty sure it wasn't really my son.

Once the mixture is cooled down, you should have "puffy" yeast.

In a large bowl, combine three cups flour and the milk mixture.

Then you add the yeast mixture and beat for 3 minutes. Next add the eggs. Finally you add just as much flour as you need to get the dough to a super soft feel, where it still sticks to your fingers but is pulling away from the bowl.

Cover and rise for an hour.

After an hour, it looked like this:

Now punch that dough down. Literally.

The dough is divided into two blobs.

Then you pat the first blob into a rectangle.

Next use a pizza cutter to divide it into 12 even-ish pieces.

Yes, I'm fully aware that this picture only has 10 pieces. I had already formed two rolls when I realized I needed to take a picture.
Roll the pieces into balls and put them into a 9x13 pan. (Makes 24 large rolls)

It needs to rise again for about another 30 minutes.

After the second rise, they are ready to put into the oven for 15-18 minutes. They will be golden brown when they come out. Rub the tops with a stick of butter.
These are an awesome addition to so many meals. If you've got the time and the ingredients, make them. We even lathered honey butter (review found here) on them. Ooooo! So good.

Tuesday, October 2, 2012
Recipe #45 - Fauxtisserie Chicken
Its 5:45 and you realize that you haven't even thought about what to fix for dinner. There's really nothing to eat, and you served pancakes, grilled cheese, and canned soup (no all together, of course) already this week. You don't want to go out to eat because it always costs more than you like. And you ordered pizza yesterday. Now what?! Rotisserie Chicken! Its like making dinner without making dinner! Perfect.
Well this is the homemade version of rotisserie chicken! Its called Fauxtisserie Chicken. Clever! You can find it on page 110 in the cookbook or online here.
This is a slow cooker recipe. You start by putting three foil balls in the bottom of your crockpot. The point of this is to hold the chicken up, so the hot air can circulate around the chicken and so its not cooking in its own juices.

Then you rise off the chicken, including the cavity, and pat dry with paper towels. I hate this part. I really don't like cooking a whole chicken or turkey, because I can tell what all the parts are since they're all still connected. Ugh!!

Next you loosen the skin (sick!) around the entire chicken without removing it. Then put the garlic under the skin.

Next you rub seasoning salt all over the skin.

Once it is all seasoned and ready to go, you place the chicken on the foil balls inside your crock pot. Cover and cook for 6-7 hours on low.
About halfway through the cooking process, I noticed that part of the chicken had slipped off the foil balls. Maybe I will try 4 balls next time.

Now don't go thinking that you'll pull the chicken out, put it on a platter and serve it looking like a whole chicken. It is so tender, it ends up looking more like this:

A pile of chicken! Still tasty but not so pretty...

There are several variations of this recipe, and I think it is intended that you pick one of them. The recipe that I made is a basic chicken recipe. Like, very basic. It was fine, but I would only make this version again if I was using the chicken in another recipe that called for cooked chicken. Definitely try one of the versions. That's what I will be doing next time.
Monday, October 1, 2012
Recipe #44 - Monkey Bread
Apparently monkey bread is sort of a "Mormon thing", I'm told. I've had monkey bread since I was little, and I vaguely remember by mom calling it Monkey Brains, cuz it sort of looks like that. Mom, is that right? Or just my imagination?
Brains or bread, this dish is a treat. Its sort of like eating lots of the gooey centers of a cinnamon roll where its got all the cinnamon and sugar goodness. Who could resist?!
I have a yummy recipe for monkey bread that I really like but because it requires me to make the dough, I don't make it very often. Mornings and I are not good friends, so to get up 2 hours before breakfast should be in the table...well, its just not happening.
This recipe starts with 3 cans of refrigerator biscuits. Brilliant! It takes 35 minutes from start to finish. I can do that...from time to time.
You'll find this recipe on page 65 of the cookbook but its not online. (If you've been following my blog and you don't have this cookbook yet, its time, honey. Go buy it. Or better yet, order it this second. Click here!)
This is what you'll need:

Start by mixing your sugar and cinnamon, and toss it in a gallon sized ziploc bag.

Next you cut your biscuits into quarters.

(Just for the record, those aren't my hairy man-hands. They actually belong to a man.)
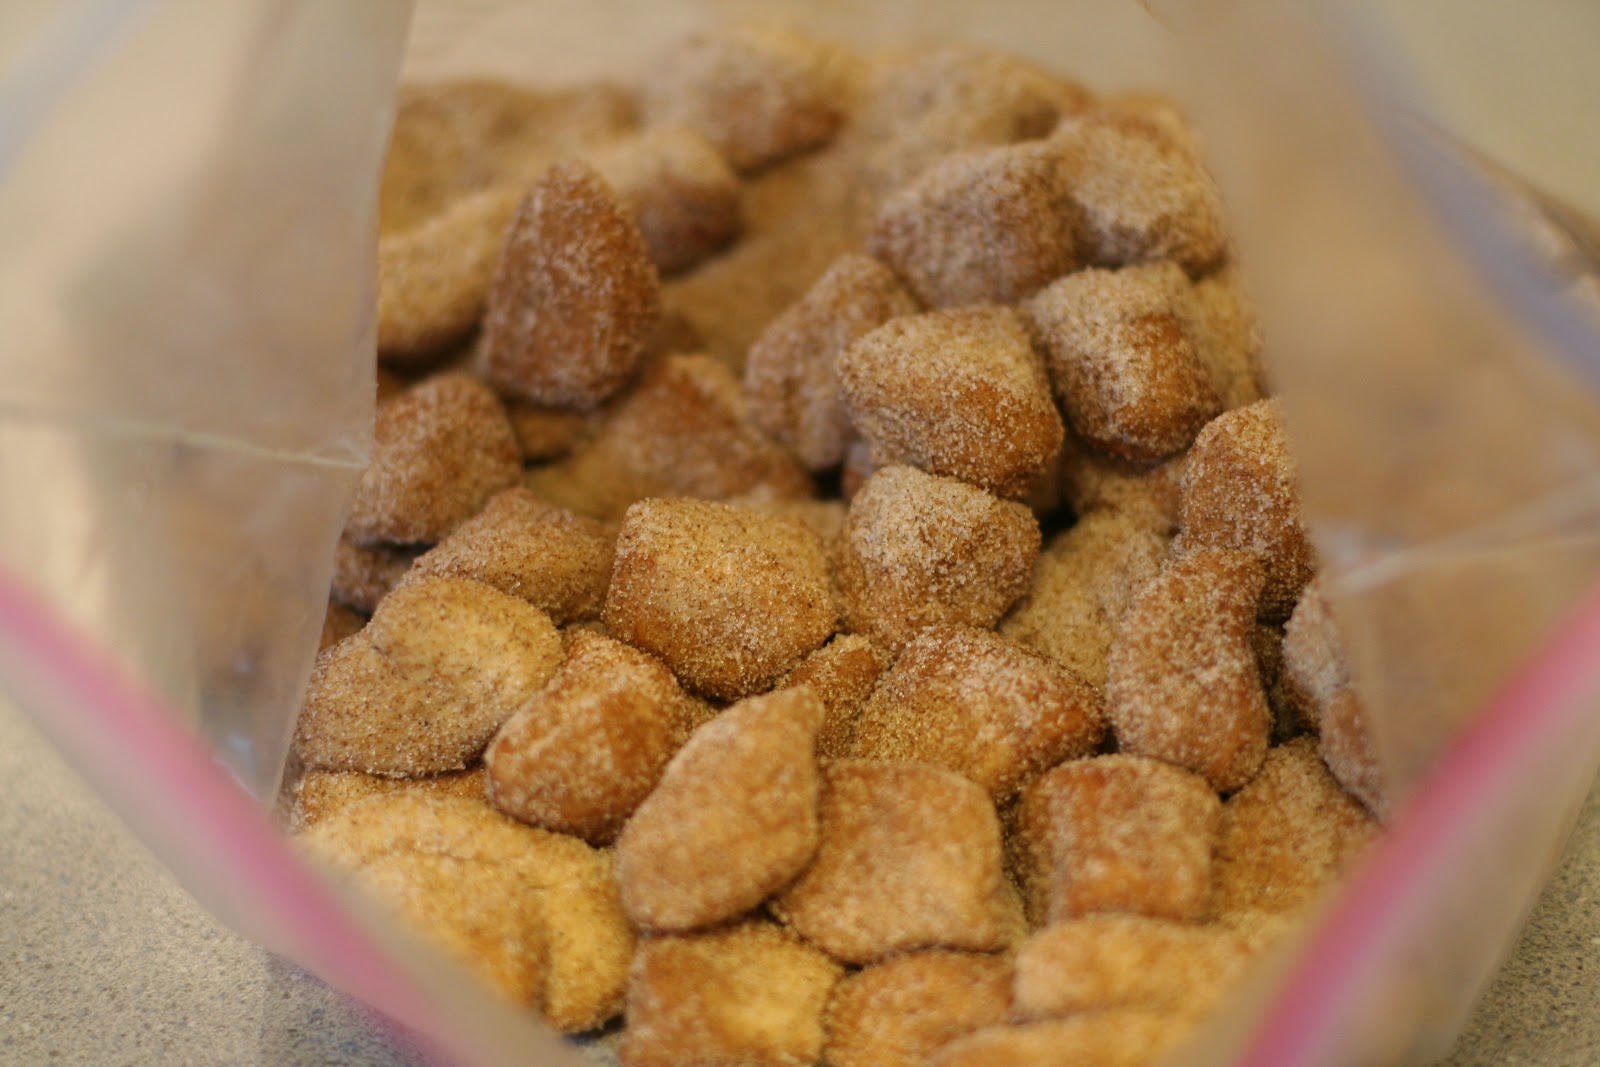
Toss them in the bag too.

Once they're all cut, zip the bag up and give it a good shaking. This will coat each of the biscuit pieces completely with cinnamon and sugar.

Put the biscuit pieces into your bundt pan.

Then you put the butter, brown sugar and honey into a bowl.

Microwave for about a minute, or until the butter is melted.

This mixture gets poured over the biscuits.

Its now ready to pop into the oven for about 20 minutes.
It comes out looking yummy already, but the gooey goodness is hiding in the bottom of the pan.

After letting it cool for 5 minutes, you invert the monkey bread onto a platter to serve it.

See! Gooey goodness! Now resist the urge to stick your finger in this goodness quite yet. As my husband found out, its super hot and it sticks to you. Then when you lick it off to stop it from burning your finger, its burns your tongue. (That'll teach him to stay out until its time to serve it.)
It is hard to describe how sinfully good this stuff is. You need to try it. If you like cinnamon rolls (and really, who doesn't?!), you'll love this. It gets inhaled every time I make it, and today was no exception.
Brains or bread, this dish is a treat. Its sort of like eating lots of the gooey centers of a cinnamon roll where its got all the cinnamon and sugar goodness. Who could resist?!
I have a yummy recipe for monkey bread that I really like but because it requires me to make the dough, I don't make it very often. Mornings and I are not good friends, so to get up 2 hours before breakfast should be in the table...well, its just not happening.
This recipe starts with 3 cans of refrigerator biscuits. Brilliant! It takes 35 minutes from start to finish. I can do that...from time to time.
You'll find this recipe on page 65 of the cookbook but its not online. (If you've been following my blog and you don't have this cookbook yet, its time, honey. Go buy it. Or better yet, order it this second. Click here!)
This is what you'll need:

Start by mixing your sugar and cinnamon, and toss it in a gallon sized ziploc bag.

Next you cut your biscuits into quarters.

(Just for the record, those aren't my hairy man-hands. They actually belong to a man.)
Toss them in the bag too.

Once they're all cut, zip the bag up and give it a good shaking. This will coat each of the biscuit pieces completely with cinnamon and sugar.
Put the biscuit pieces into your bundt pan.

Then you put the butter, brown sugar and honey into a bowl.

Microwave for about a minute, or until the butter is melted.

This mixture gets poured over the biscuits.

Its now ready to pop into the oven for about 20 minutes.
It comes out looking yummy already, but the gooey goodness is hiding in the bottom of the pan.

After letting it cool for 5 minutes, you invert the monkey bread onto a platter to serve it.

See! Gooey goodness! Now resist the urge to stick your finger in this goodness quite yet. As my husband found out, its super hot and it sticks to you. Then when you lick it off to stop it from burning your finger, its burns your tongue. (That'll teach him to stay out until its time to serve it.)
It is hard to describe how sinfully good this stuff is. You need to try it. If you like cinnamon rolls (and really, who doesn't?!), you'll love this. It gets inhaled every time I make it, and today was no exception.
Subscribe to:
Comments (Atom)