I really like pie, but I don't make it very often. Here is why:
1. I like to try new recipes.
2. I can't taste a slice before I serve it to guests. But if it is a new recipe, I want to make sure its good before serving it.
3. If I just make it for my family, there is way too much pie left.
4. If there is way too much pie left, I eat it.
5. Sometimes, I eat it for breakfast.
(See post here.)
6. If I eat pie for breakfast, I have to run on my elliptical.
Therefore, I typically stick to making cookies that I eat too many of and have to run on my elliptical. Hmm...I need to work on that logic I guess.
Anyhow, this time I made pie -- Banana Cream Pie. You can find it on page 224 of the cookbook or online
here.
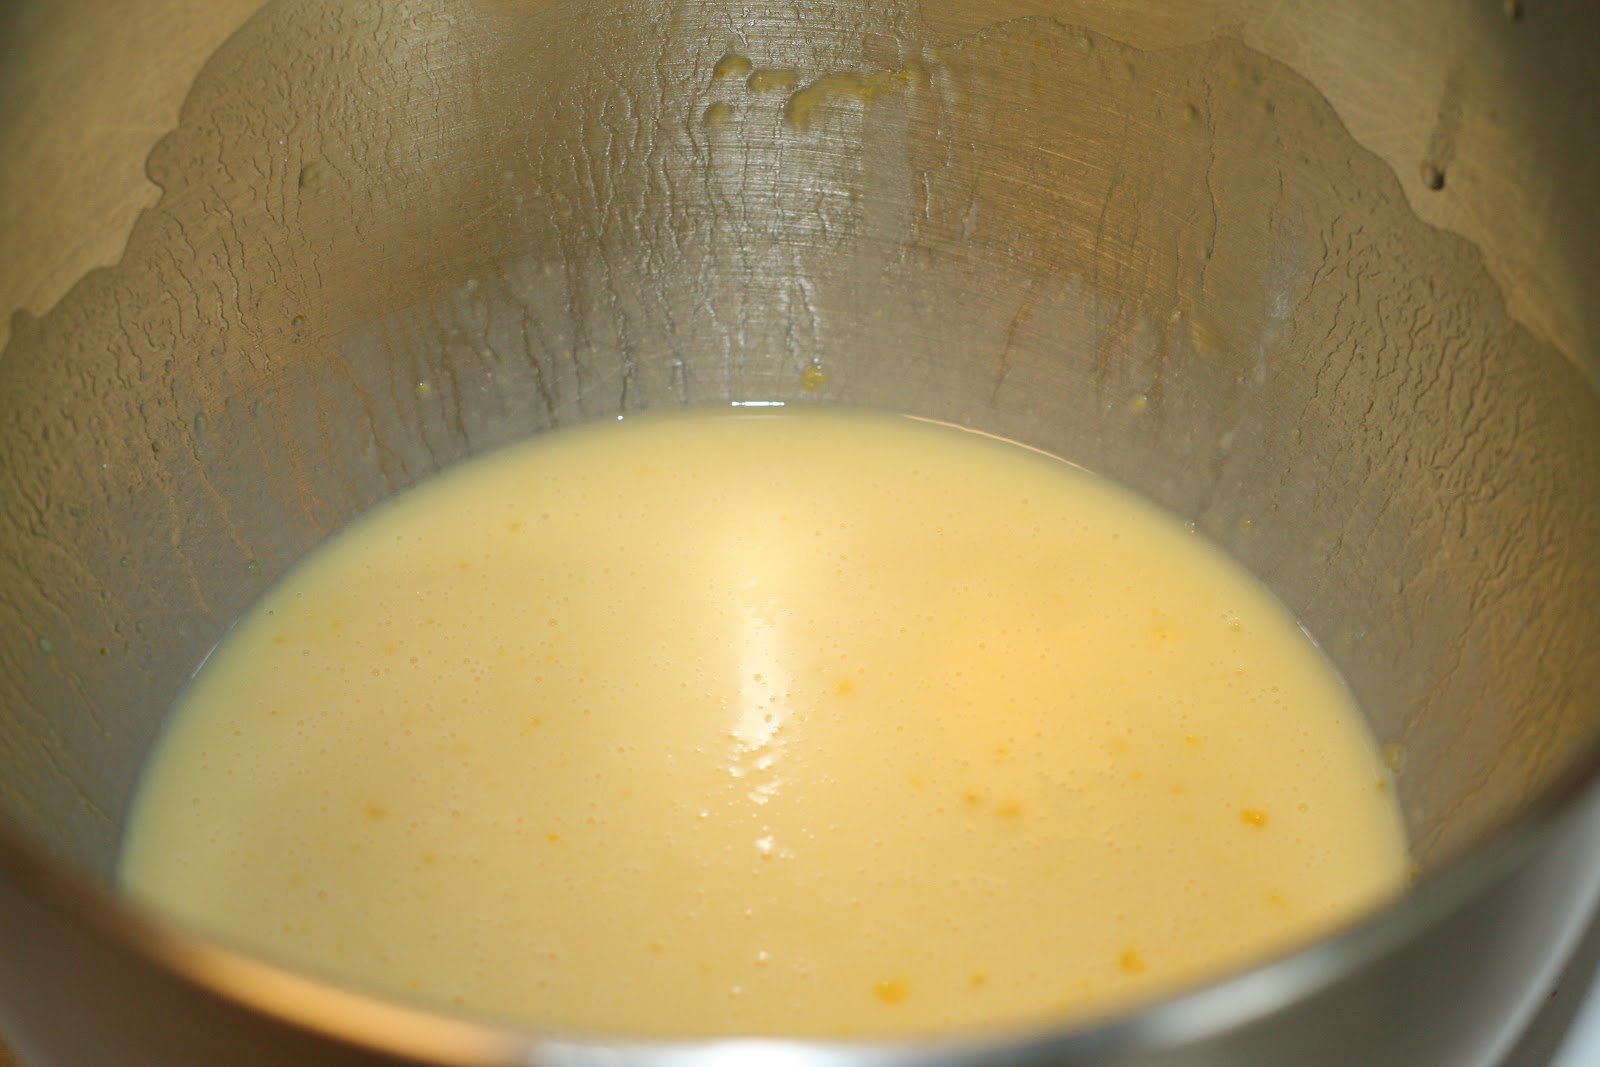
First, you combine your pudding mix, water and sweetened condensed milk.
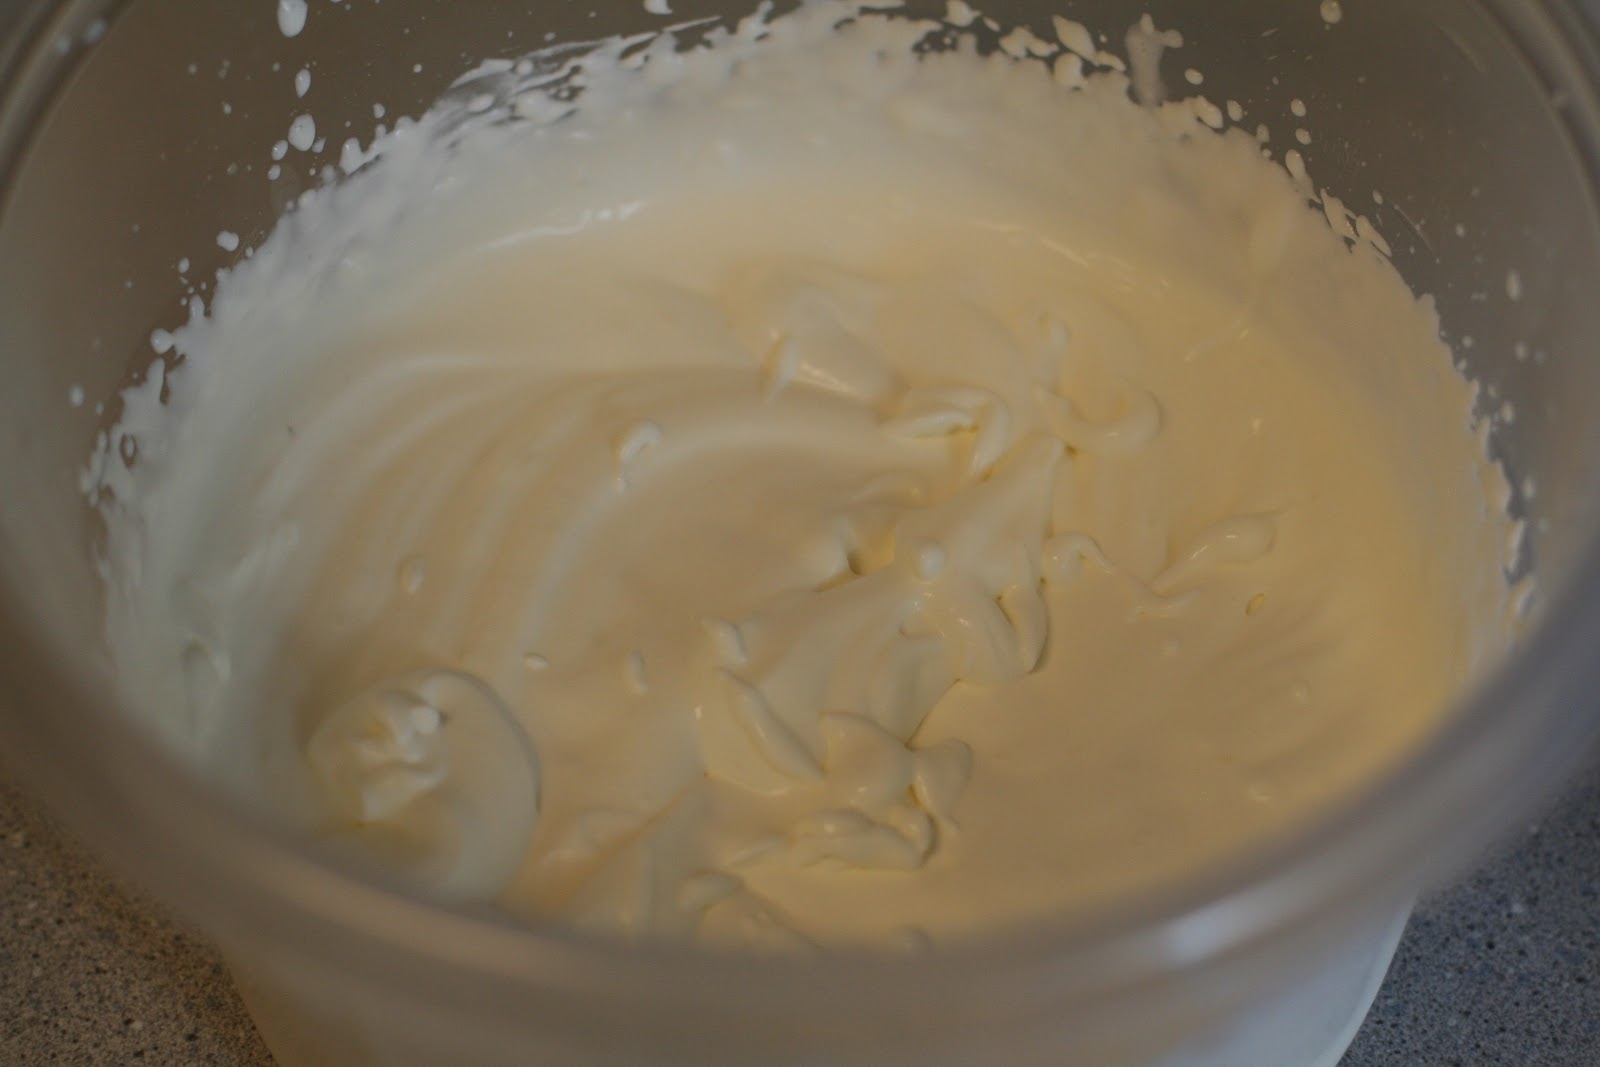
After it is mixed well, you put in the fridge to chill while you move to the next step -- whipping the cream. (Like my fancy mixing bowl? Sweet, huh? No pun intended.)
You fold the whipped cream into the pudding mixture and return it to the fridge.
Next you slice the bananas and layer them on the bottom of the crust. Now, listen up so that you can learn from my mistake. When I read the word "layer" my brain thought the pie should look like this:
Then I had some banana left, so I ate it.
However, when I looked at the Our Best Bites blog for the link to this recipe, I found that it really was supposed to look like this.
Oops. "Layer" doesn't mean one flat row. Lesson learned. (I think that Sara and Kate should hire me to figure out
all the errors one could make while following one of their recipes. Even when the wording should be very clear, I am bound to find another interpretation!)
Then you pour the chilled mixture over your
layer of bananas.
After that, you whip up some more cream, but this time you sweeten it with powdered sugar.
It gets spread it over the top of the pie.
Ironically, the only thing that I found lacking in this pie is the amount of bananas in it. Hmm...wonder why. Geez.
There is also another version of this pie called "Chunky Monkey" and I liked it even better than this one. That review is coming next! Stay tuned for more reasons to exercise daily.