Its been many moons since I have had a BYU mint brownie, but I think that this recipe is pretty stinkin' close. You can find it in the cookbook on page 218 or online here.
This isn't a particularly hard recipe, but it does take a while to get through all the steps. Don't plan on serving it soon after it gets out of the oven. Not gonna happen.
First, you line your 9x13 pan with foil and spray with cooking spray. This step is such a blessing for clean up and serving. Love it!

Then you chop up your butter and chocolate and melt it in the microwave.

I just cut my chocolate in half, but when it says to chop it, apparently they mean more than in half. My butter melted very quickly; the chocolate...not so fast.
Next they chocolate mixture needs to cool. This takes a little while. If you want to speed up the process, get it out of the bowl that you heated it in and stir occasionally.

Once your chocolate is on the cooler side, proceed with mixing up the first set of ingredients.
Then you slowly add the chocolate while the mixer is still going.
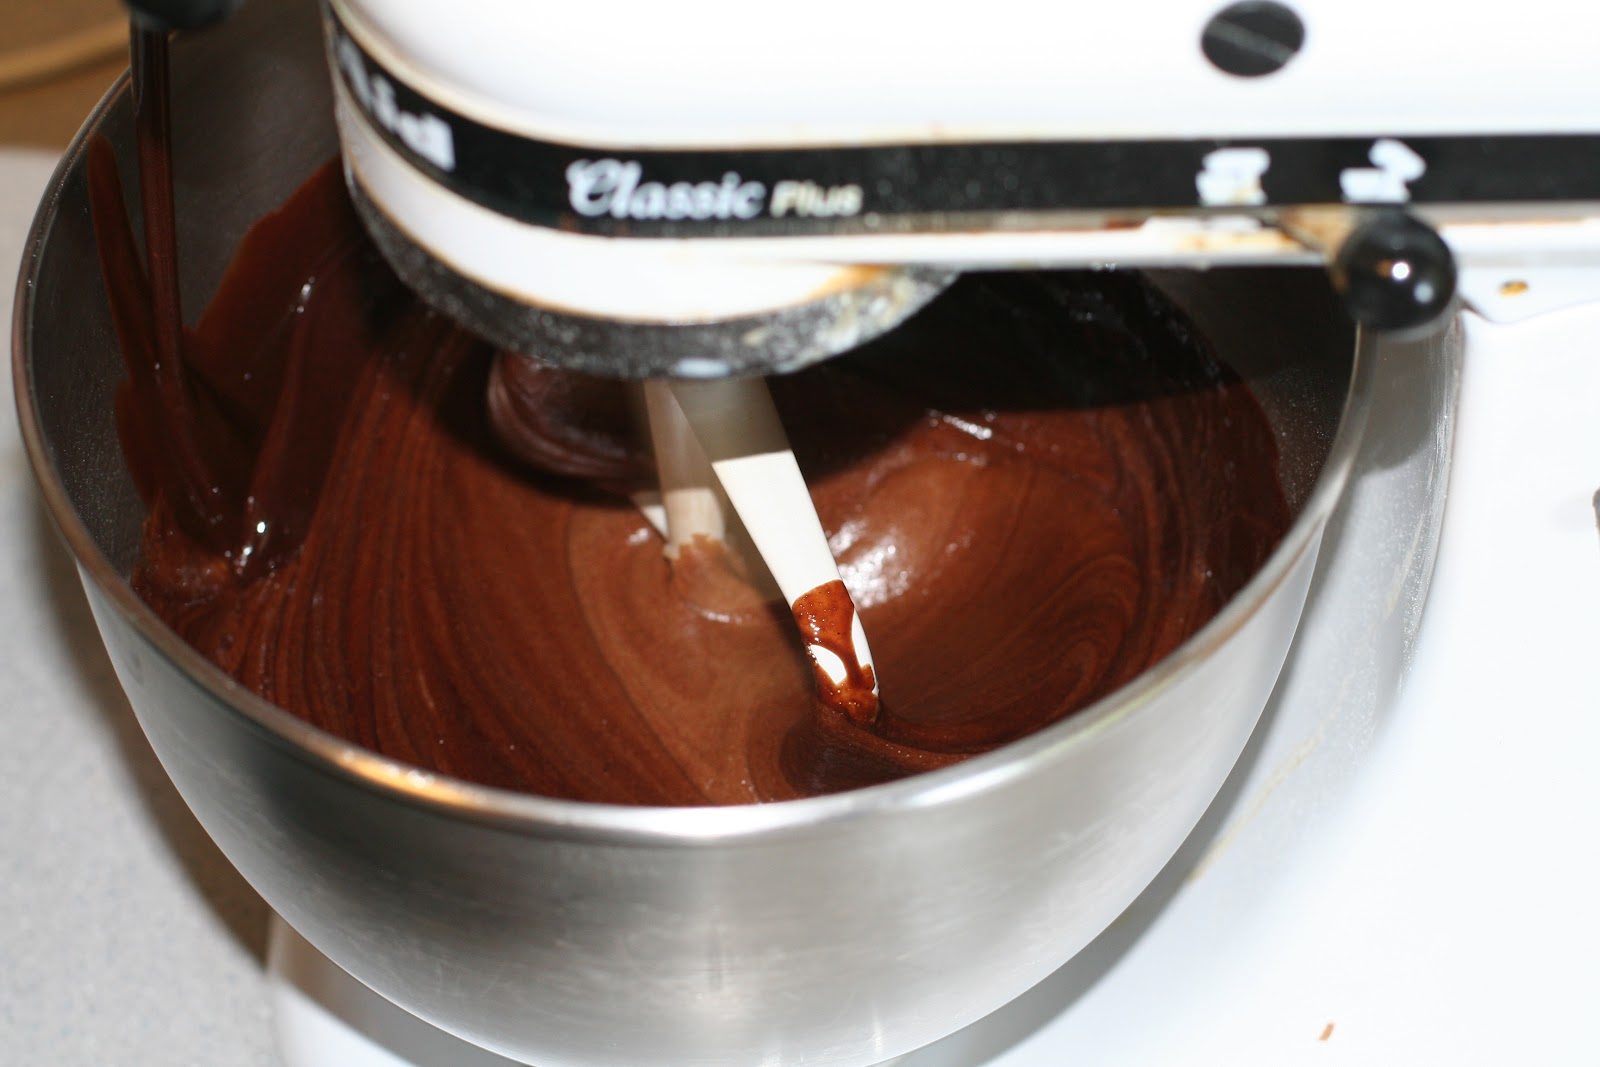
Note to self: Self, clean your Kitchen-Aid before you take more pictures of it. Geez.
And then on low speed, you spoon in the flour and baking powder.

Now the brownie batter is ready to go into the oven.


The recipe says to bake it for 20-30 minutes. Mine took the full 30 minutes.
Once it comes out of the oven, the brownies need to completely cool before you can do anything else. After 2 hours, my brownies were still very warm. We were headed to church at that point in the day, so I'm not sure exactly how long they took to cool -- some time between 2-5 hours. Helpful, right?
Once they are cool, you get to make the green frosting part. Its a thicker frosting, so don't expect something you'd put on cupcakes.

Spread it evenly over your brownies and chill in the fridge. (The brownies that is, not you.)

The final step is making the glaze. You just melt chocolate chips and butter in the microwave. I used dark chocolate chips, because they are heaven sent.

Crazy easy. However, you have to let it cool for 15 minutes before you put it on the frosting.

There isn't a ton of glaze (since you just want a thin layer), so when you pour it over the frosting, make sure that you do it somewhat evenly. This will allow you to spread it much easier than if you make a big blob in the center and try to spread it out.
After the glaze is spread out, into the fridge the brownies go again. You want the glaze to be able to set up until it is hard. I think that I checked mine after about 45 minutes and it was totally set. So that step doesn't take long.
When it is time to cut them, you just lift the foil out of the pan, and you're ready to roll. Beautiful clean edges; no digging out and destroying that first piece.

See what I mean about all these steps taking quite a bit of time, although nothing is particularly hard? But the results are oh so delicious.

Kylie took one bite and said, "Mom, these are DANGEROUS!" I knew exactly what she meant. My elliptical would be groaning if I didn't start passing these out to some neighbors.

I love the tin foil trick. I think I will do that! It should work with a cake work right?
ReplyDeleteI am sooooo glad a little birdie told you I LOVE chocolate. Thanks for sharing! I devoured mine...and the extra one on behalf of Beckham. :) (Thank goodness I can still use that eating for two line.) So much for today's diet.
YUM!! I LOVE these brownies!
ReplyDelete