Sunday, August 26, 2012

Recipe #30 - Guiltless Alfredo Sauce

When I hear the words "alfredo sauce", my mind triggers Olive Garden's delicious sauce.  And that thought triggers the word "FATTENING".  I never, ever order alfredo anything because of how fattening it is.

I just looked up the nutritional info online for anyone who doesn't know how bad it is for you.  (So kind of me, I know.)  This is the data for the dipping sauce not the full fettuccine alfredo dish -- just the sauce.

Calories 460  -- WHAT?!  The dipping sauce alone?!
Fat (g)   43  -- AHHH!
Sat. Fat (g)   27  --  Oh my!

But thanks to Sara and Kate, the world and eat yummy alfredo sauce again.  This recipe is called "guiltless" for a reason.  You use low-fat milk and low-fat cream cheese, instead of heavy cream.

You can find this recipe in the cookbook on page 158 or online here.

You start by putting the milk, cream cheese, flour and salt into the blender.


Mix until smooth.  Then in a saucepan, you melt your butter and quickly saute the garlic.


Next you add your mixture from the blender to the pan and stir until it simmers and thickens up.


Once the sauce thickens, you stir in your cheese and cover the pan.


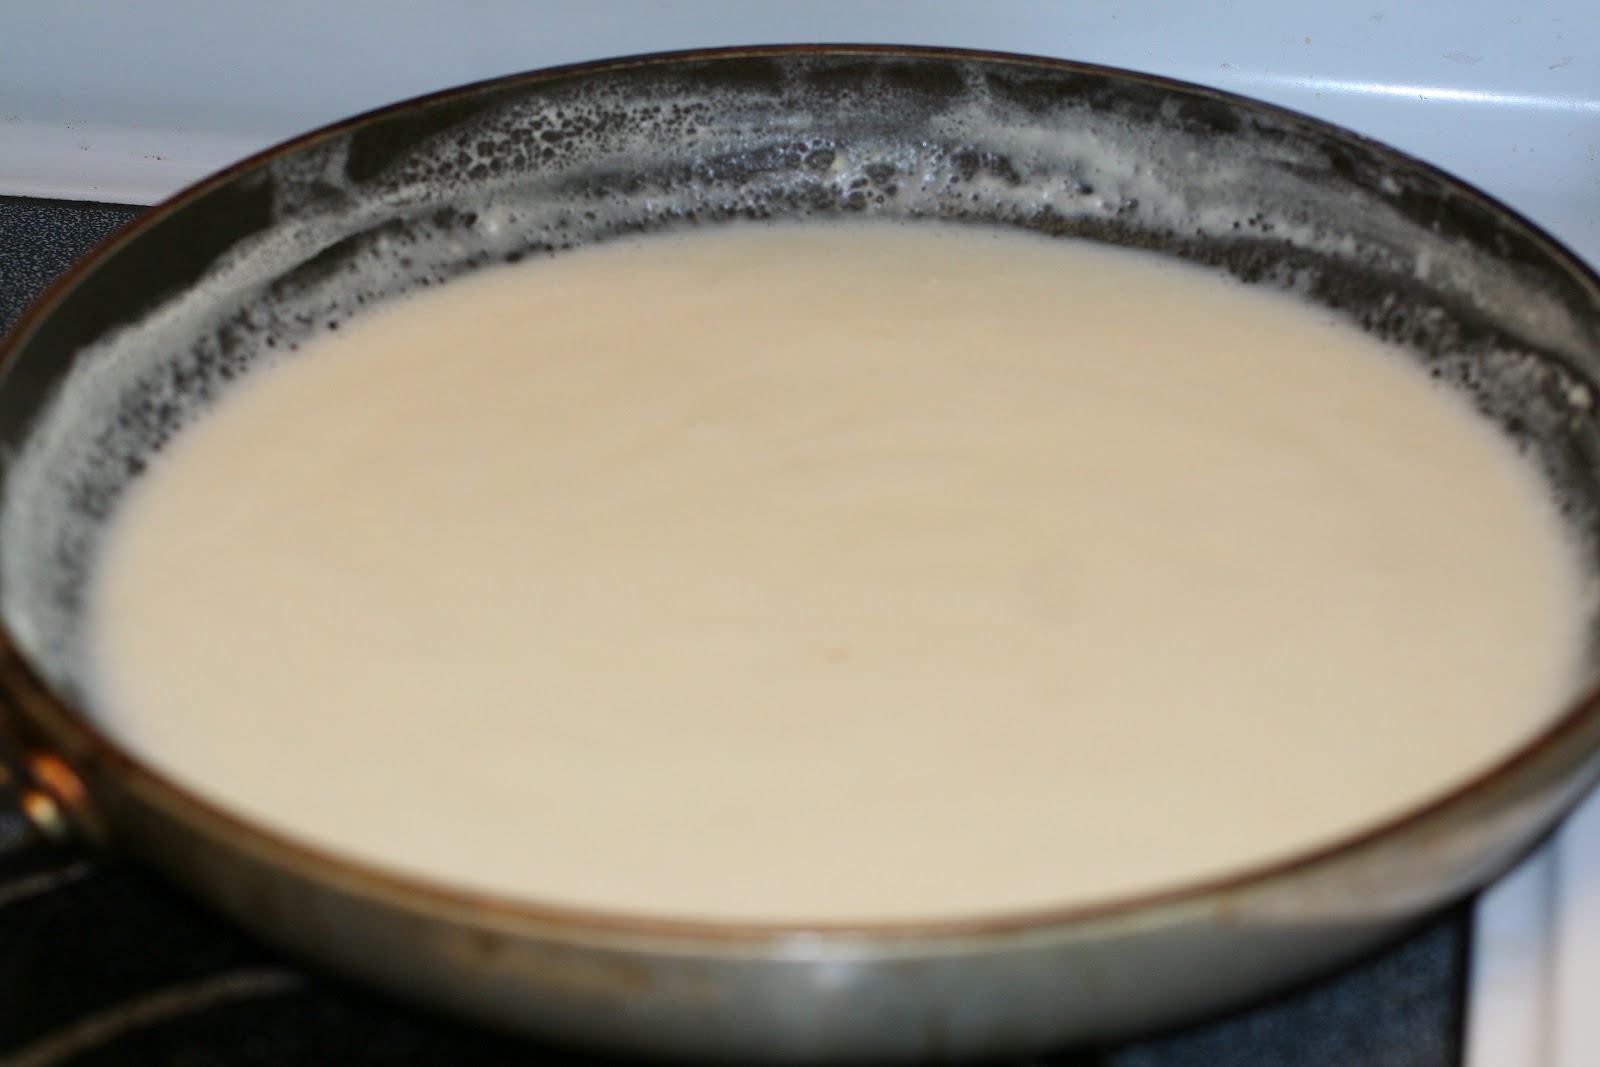
This was a moment that I realized it is smart to read the recipe all the way through before starting.  I decided to mix this sauce in my skillet -- my skillet that doesn't have a lid.  So when I came to the step that said to cover it, I had to improvise.  LOL


Seemed to work fine though.  Next time I will try to remember to read first.

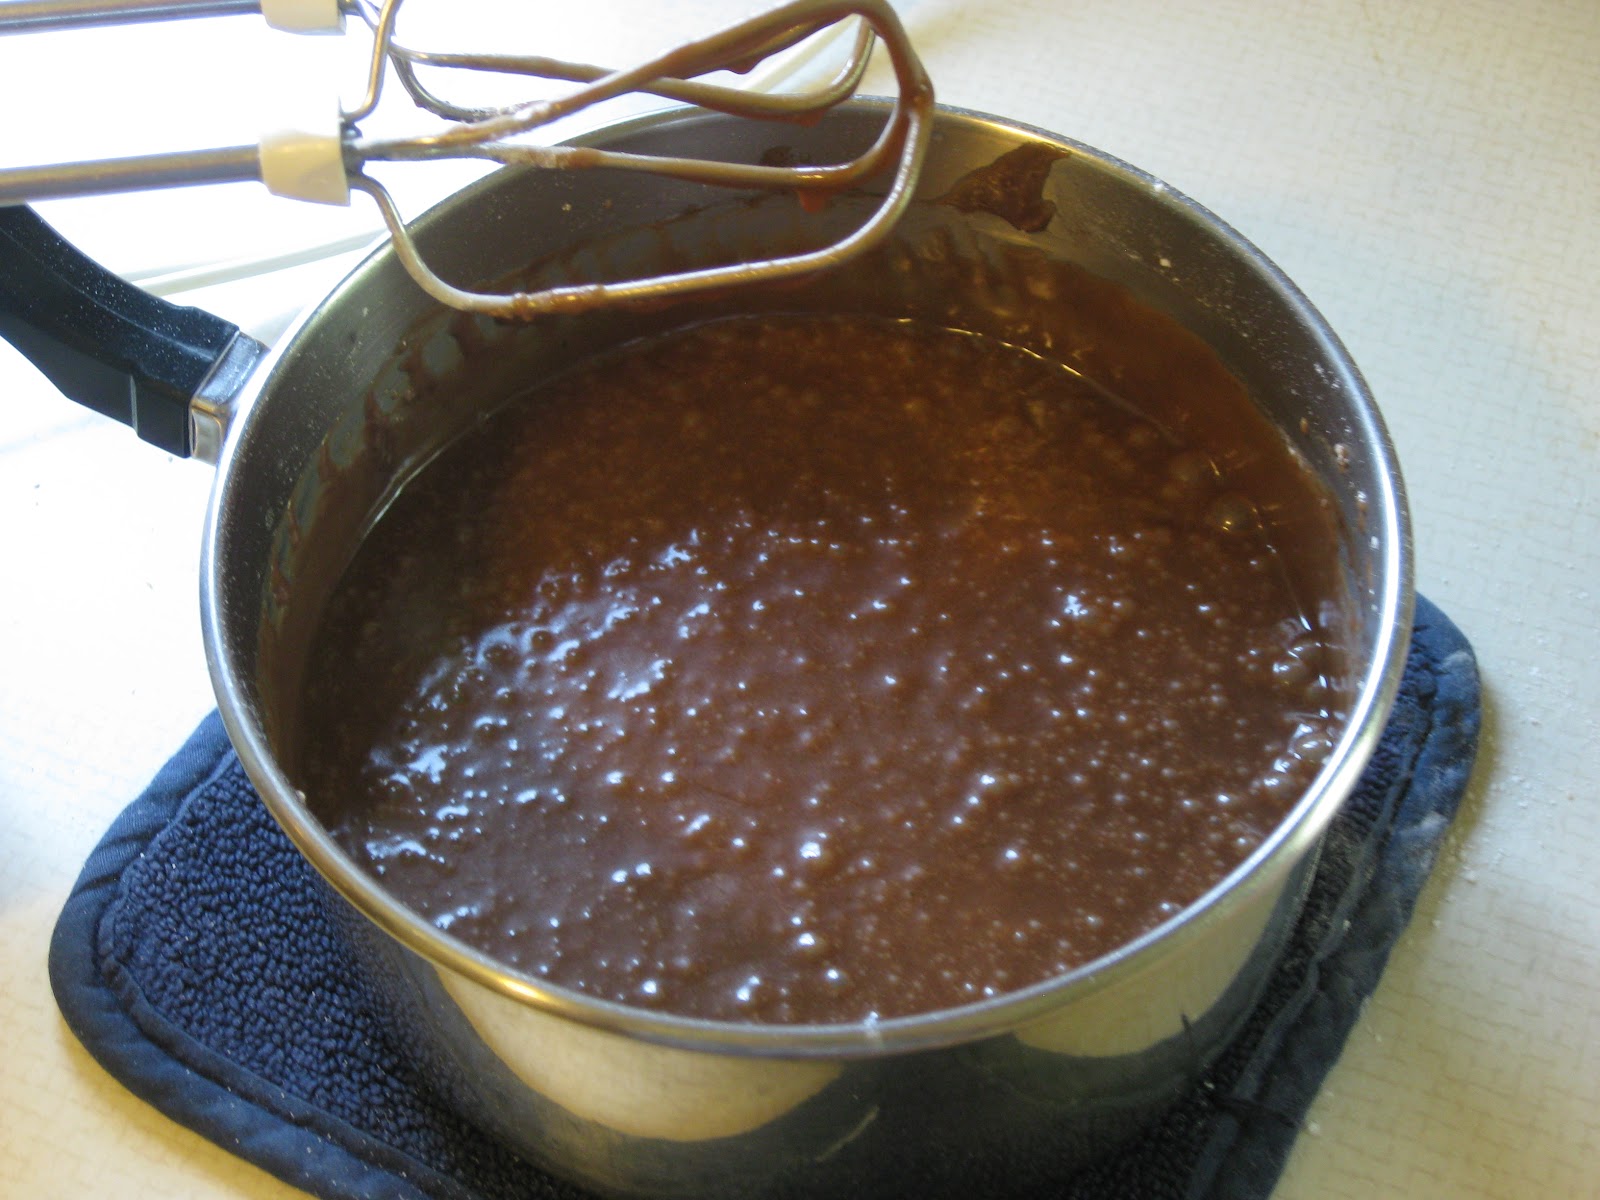
Next you allow the sauce to stand for 10 minutes and it will continue to thicken up.  We served it over ziti noodles and topped it with grilled chicken.


My kids were a little nervous about trying it.  Since I am always worried about the fat content, I never make, buy, or serve alfredo sauce.  So none of my kids had tried it until now.  Well, they loved it and asked for seconds.  It was a hit all the way around.

But if you're trying to fattened up (people who have to do this baffle me), stick with the Olive Garden recipe.  It can be found online here.

Saturday, August 25, 2012

Recipe #29 - Sweetened Whipped Cream

Know what Key Lime Pie needs?  Whipped Cream.  Yes, you can bust out a tub of Cool Whip and pile some delicious chemicals into your body or you can make this recipe.  (Don't get me wrong, Cool Whip is tasty and has a time and a place.)

This recipe is found on page 252 in the cookbook or online here.

This recipe has one step: combine the ingredients until soft peaks form.  Here are the ingredients waiting to be whipped:

As noted in my previous post, I was preparing this for a meeting I had and was crunched for time.  In my rush, I totally forgot to take any other pictures.  Geez.  Luckily this recipe doesn't really need them to figure out what things are going to look like.

Here is a picture from the Our Best Bites page that shows what the finished product looks like.


That's it, folks!  Dollop away.

Recipe #28 - Key Lime Tarts

There are several recipes in this cookbook that I have always wanted to try, but just have never gotten around to them.  Key Lime Tarts is one of those recipes.  However, I had a meeting and not too long before the meeting I decided that I wanted to make a treat for it.  So I flipped through the desserts section to look for something that was tagged "quick and easy".  This recipe fit the bill.

I did have to make trip to the store for limes and the mini graham cracker crusts though, but it was okay because I had enough time.  Well, I got to the store only to find that they don't carry the mini crusts.  I didn't have time to go to another store so I decided to follow the alternative version of this recipe and make a Key Lime Pie.  Same recipe, same ingredients, bigger crust.

I knew that I didn't have a ton of time to make it and have it cool before the meeting, so I hustled to the check out with the pie crust in hand.  Just as got in line, I got a call from my daughter telling me that she was pretty sure my youngest had pink eye.  Fantastic.

When I got home, I had a cute little girl with 2 giant puffy eyes and the whites of her eyes were all red.  After a quick call to the doctor, I made an appointment for her and had just enough time to make a pie.  Good thing this baby is fast!

You can find the recipe on page 228 or online here.

The first step is to combine egg yolks, sweetened condensed milk, and lime juice.


Step two is to pour the mixture into the crust.


Step three?  Into the the oven it goes!  Yes, that fast and easy.

So...in my rush, I neglected to add the green food coloring.  In my defense, the food coloring is listed in the ingredients section but not as part of the instructions.  It is considered "optional" so it wasn't listed as an ingredient to add.  And well... I didn't add it.  I figured that it didn't effect the taste so I didn't try to fix it after I realized what I had done.  (Didn't realize it until it was in the oven for a minute or two.)

Once it comes out of the oven, you let it cool and then chill in the fridge.

And then you run to the doctor to find out that your five year old has allergies, not pink eye.  But that part isn't in the cookbook.

I served this with a dollop of the Sweetened Whipped Cream, also found in the cookbook.  (Reviewed here.)

Yes, I am aware that this picture is on the uglier side of life.  I cut the pie during the meeting and in the name of not looking too wacky taking pictures of my food, I only snapped one.  Perhaps I should have taken more...

I found it to be a very simple, light pie.  It wasn't very filling.  Good thing?  Bad thing?  Not sure.  And it made a delicious breakfast the next morning.  Totally counts as a fruit, a protein, and a dairy.  Right?

Monday, August 20, 2012

Recipe #27 - Bacon-Wrapped Teriyaki Chicken Skewers

I am pretty sure that any recipe that starts with "bacon-wrapped" is bound to be delicious.  In this case, my theory is definitely correct!  Another must-make recipe from the Our Best Bites cookbook is Bacon-Wrapped Teriyaki Chicken Skewers.  It can be found in the cookbook on page 117 or online here.

First you cut the bacon into thirds.  You'll need to count how many pieces you have, so that you can cut that many pieces of chicken too.


Then cut your chicken into bite-sized pieces.


Drain the pineapple (and drink the juice because is tasty!) and put it in a bowl.


Next you need to set up a little "work station" to assemble your kabobs. 
1.  Kabob sticks
2.  Bacon
3.  Chicken
4.  Pineapple


When prepping the kabobs, you first wrap a piece of bacon around a piece of chicken and slide it onto the kabob stick.  Next comes a piece of pineapple and you repeat.  I did 4-5 of each on most of my kabobs.


Then the recipe says to put the kabobs into a shallow dish or a zip-top bag so that you can marinate them.  First I tried a zip-top bag.  Fail.  The kabob sticks poked holes in the bag, and the second bag too.  So I tried a serving platter, but the edges curved up enough that I knew they wouldn't marinate evenly.  On my third try, I pulled out my 9x13 glass pan.  It fit my kabob sticks perfectly, so it totally did the trick.


Next you use the Teriyaki Sauce recipe from the cookbook (reviewed here).  You reserve 1/2 cup and pour the remaining sauce over the kabobs to marinate for 4-8 hours.


When the time comes to cook them, fire up the grill!  (There is also an option to cook them in the oven if you prefer.)  While they are cooking, you baste the kabobs with the remaining teriyaki sauce.


The result is deliciousness on a stick!  This chicken is so tasty.  My entire family gobbled it up.  They really couldn't get enough.  It was a huge hit, and I'm pretty sure it will be added to our unofficial "family favorites" list.


We served this with Lime-Cilantro Rice on the side -- a perfect compliment to this dish!


Recipe #26 - Teriyaki Sauce

I really love Asian food, but I rarely make it.  I don't know that I have a good reason for this either.  Maybe its just a lack of good recipes for it.  (Feel free to send some my way!)

Because of this, I don't know that I have ever made my own Teriyaki Sauce before.  I think that I have always just purchased it bottled.  However, there is a great recipe here in the Our Best Bites cookbook, and you probably have all the ingredients in your pantry already.

This recipe can be found in the cookbook on page 46 or online here.  I was making it specifically for the Bacon-Wrapped Teriyaki Chicken Skewers recipe (found here).

First you combine everything but the cornstarch and water in a small saucepan.

While the sauce is heating, you whisk together the cornstarch and water.


Once the sauce comes to a full boil, you whisk in the cornstarch mixture.


Stir until sauce is thickened.  Remove from heat and cool.


So easy!  Only takes a couple minutes!  If you have a recipe that calls for teriyaki sauce, you could whip up this recipe faster than you could go pick up bottled sauce at the store.  It made just over a cup of teriyaki sauce.


Sunday, August 19, 2012

Recipe #25 - Peanut Butter and Jam Bars

Tuesday is a big day at our house -- BACK TO SCHOOL!  It is one of my favorite holidays.  To celebrate, we had a back to school party.  Serious.  And I needed a treat to serve, so I consulted by handy dandy cookbook and decided on Peanut Butter and Jam Bars. Perfecto!

This recipe can be found on page 214 or online here.

First you cream together your shortening and sugars.


Once that is light and fluffy, you add the peanut butter, eggs and vanilla.


And then you add in the flour and other dry ingredients.


The dough that you end up with looks a lot like peanut butter cookie dough.


You reserve one cup of the dough and set it aside.


And pat the reminder into the bottom of a 9x13 pan.


Next you spread the jam over the top of the dough.


Then you have two options.  You can either crumble the reserved pieces over the jam or you can flatten small pieces into "discs" and lay them over the jam.  I flattened them in hopes of having flat-ish bars.  Takes some time to do this though.  I would be curious to see what crumbling looks like when it comes out of the oven.

The flattening technique sort of looks like a bad skin graft...

Then you bake it for 20-30 minutes until it is set and barely golden.  Mine took 20 minutes.  Let it cool completely.


When its cool, you mix together all the glaze ingredients and whisk until smooth. 


Then you spread the glaze over the bars and let it set a bit before cutting into the bars.


I opted to cut mine into triangles to make them look like a peanut butter and jelly sandwich.


The recipe says it makes 12 large bars.  They would have to be pretty large bars though.  I think the triangles were the perfect size and we had tons of them.  Sorry, I should have counted.

So the question is: were they good?  To me, they tasted a lot like a PB&J sandwich, just sweeter.  Most of the kids really liked them.  Just a couple kids didn't care for them.  Here's the verdict: 


The three kids on the bottom of the side were the only that didn't care for them.  Everyone else enjoyed them!  Happy Back to School Day everyone!

Saturday, August 11, 2012

Recipe #24 - Spicy Honey Chicken

When we arrived at my in-laws' house, everything looked pristine.  Like bed and breakfast ready.  My mother-in-law had treats waiting on our beds, mini toiletries in the bathroom, today's paper on the table, and this little bowl of evilness sitting on the kitchen counter.

Dried fruit is good for you.  But when you just keep eating it, those calories all count.  Ugh!  I had to move it because I kept being tempted by its deliciousness. And no, the bowl was not full when we arrived.  I didn't eat it down that far.

Additionally, I felt awful because when we entered the house, it was like we exploded all over the place.  I just kept thinking, "She spent so much time getting the house ready.  Must clean up."  As I made the Texas Sheet Cake (found here) and dirty dishes were amassing, I kept feeling the need to clean up.  This is a weird feeling for me.  Truly.  Before I could move on to the next recipe, I had to clean this up.

I know it wasn't much, but when the kitchen was spotless (and its not your kitchen), you have to clean up quickly.  With the dishes done, I proceeded to make the Spicy Honey Chicken found on page 119 and found online here.

I have actually made this recipe before, and my family adores it.  I figured that it was a good one to make for the in-laws since I already knew it would be a hit and I hadn't blogged about it yet.

First you put together the ingredients for the rub.


Since we were going to have a crew for dinner, I tripled this recipe.  So when you see these pictures, please know that this is not a standard portion.  Here's what the rub looks like all mixed together.


Then you trim the fat off the chicken thighs, drizzle some vegetable oil over them, and rub in the rub.  (That just sounds dumb: rub in the rub.  But frankly, that's what you do.)


Then came our minor dilemma.  We turned on the grill and the propane lasted about 10 seconds.  Poof!  It was gone!  Ahh!  So off to the store we ran, setting the timing of everything back 30 minutes.  Good thing that everyone was content to chat while the food was delayed.

Once you have propane for the grill, you throw these babies on.  They cook for just 3-5 minutes on each side. (Since my father-in-law prefers to put foil on the grill to keep things clean, that's what we did too.)


In the last minutes of grilling, you add the glaze made from two simple ingredients.  Honey and cider vinegar.


You whisk these together, reserve 2 tablespoons for later, and then brush the rest of the chicken with it just before pulling it off the grill.

Once the chicken comes off the grill, you drizzle the reserved honey mixture and you're ready to go!


Since dinner was late and I was anxious to get it on the table, we didn't do so great on the picture taking.  This chicken is a lot better looking than this photo shows.  After my husband took this picture, my mother-in-law said, "Oh no, now you can make fun of my Corelle on your blog" since I poked fun at my own.  She follows this blog.  Hello, Goddess of Bread!

This was a hit with everyone, even all the kids.  It is a tad on the spicy side, but its not bad.  The kids all gobbled it up.

If you make this recipe, I would suggest that you plan for leftovers.  The recipe that is on the sidebar in the cookbook for Spicy Honey Chicken Salad is so good!  (You can find it online here too.)  It calls for this chicken, and its a great way to use leftovers without serving the same meal again.

Recipe #23 - Texas Sheet Cake

It has been a really crazy week at my house! I have been cooking all these delicious recipes from Our Best Bites, but I haven't had the time to tell you about them. Perhaps I need to take a few days off of cooking, so that I have the time to blog!

This weekend, we traveled to Boise, ID to celebrate our 14th anniversary. You're probably saying, "You're celebrating in...Boise?" Yes, I know that's not a major travel destination.

Each year for our anniversary, my husband and I go on a little mini getaway - one night away, just the two of us. The hardest part about this getaway is finding someone to watch our kids overnight. I knew that there were several people that I could call to come stay at our house with them, but staying at our house requires that I clean more areas of the house than I wanted to clean. So we thought about who could watch the kids at their house.

Off to Boise we went for a "double whammy" trip - visit grandma and grandpa AND have two fantastic people watch our kids for our little getaway.

We arrived on Thursday afternoon, and my mother-in-law (aka The Goddess of Bread discussed here) was still at work. As a thank you for her help with the kids, we wanted to make dinner for them on Thursday night. Upon our arrival, I headed to the store to get the ingredients for dinner. I was making Spicy Honey Chicken, Sweet and Savory Coconut Rice, Oven-Roasted Broccoli, and Texas Sheet Cake for dessert. YUMMY!

This blog will cover the Texas Sheet Cake and I'll do other entries for the rest of the dinner later. This recipe can be found on page 238 or online here.

I thought I would make the cake first. The recipe says that you can serve it warm with ice cream, and as amazing as that sounded, I needed to be able to crank something out and have it done before making everything else.

The first step is to heat the butter, shortening, chocolate and water until the chocolate melts.


Next you combine the flour with the baking soda.


Then you combine the next set of ingredients.


And pour in the chocolate mixture and mix.


Next you combine the flour mixture and mix REALLY well.  I have made this cake before, and I had one problem with it: I didn't mix it REALLY well.  You know how some recipes say "This batter will be lumpy."  This recipe should say, "If your batter has lumps, your cake will too!"  Don't skimp on the mixing time.  You want every single lump to be gone. (Those aren't lumps in my batter.  They're bubbles from mixing.)


Once everything is mixed well, you put it into the oven for 20-25 minutes.  (Mine took exactly 20 minutes.)


When I went to put this into my mother-in-law's oven, I had a small moment of panic.  Her oven is smaller than mine, and I wasn't sure if my pan was going to fit into it.  Check this out.  It just barely fits.  Phew!


The cake comes out the oven looking like this.


With five minutes left on the cake's baking time, you make the frosting.  This is done by heating the milk, chocolate, and butter in a large saucepan until bubbles form along the edge.


Then you add the powdered sugar and vanilla.  Confession: this recipe calls for 1 pound of powdered sugar and I only had a 2 pound bag.  This is how I measured my powdered sugar:


Pat the bag flat.  Determine what half looks like.   Add that much.  Fancy measuring skills, huh?!
 

Once the frosting is done, you pour it over the cake while both the cake and the frosting are still warm.


The result is perfectly smooth beautiful frosting without hardly trying.


We still served it with ice cream too, although it wasn't warm.


Everyone loved it!  I think almost everyone had seconds too...even if it was in the form of sneaking "just a taste" several times.